

| Home | Videos | Blog | Forum | Downloads | Contact us |
------------------------------------------------------------------------------
------------------------------------------------------------------------------
The heated bed is made of an milled aluminium plate of 4 mm thick.
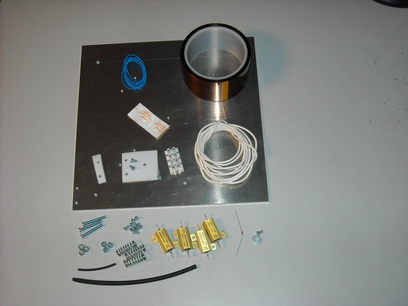
We`ll work on the side that does not have the 3 buried holes.
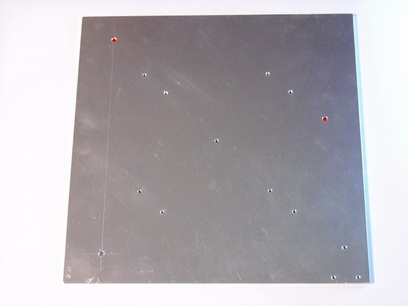
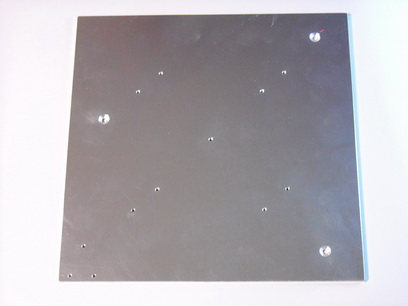
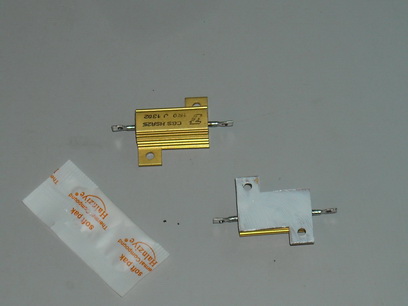
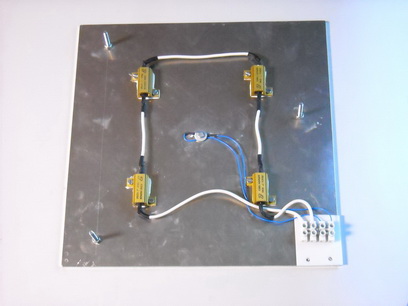
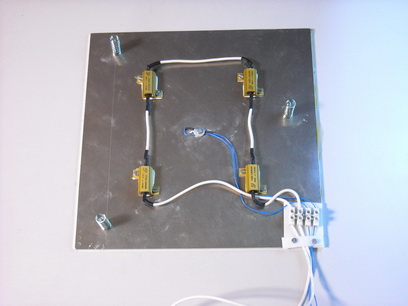
1. Install the 4 power resistors, previously coated with thermal paste, with 2 screws M3x6 each on the aluminum plate.
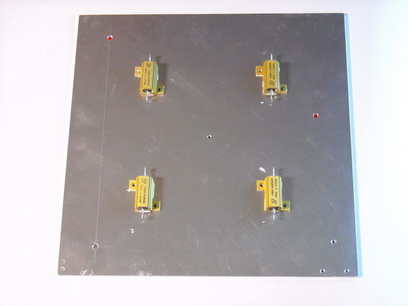
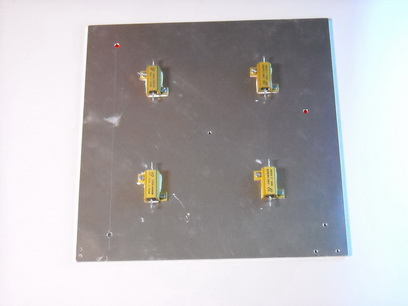
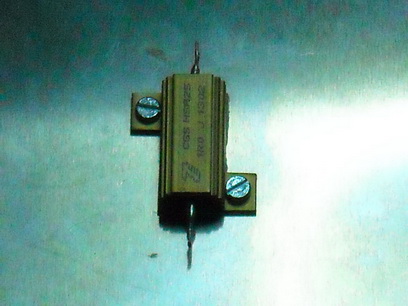
2. Cut the white wire cords (it is resistant to temperature) is stripped back ends. Place two sleeves of heat shrinkable tubing over wires. Then stick the wires between resistant so that they are connected in series. After soldering heat shrinkable tubes with a heat gun or a lighter.
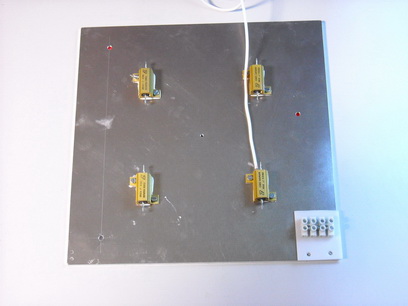
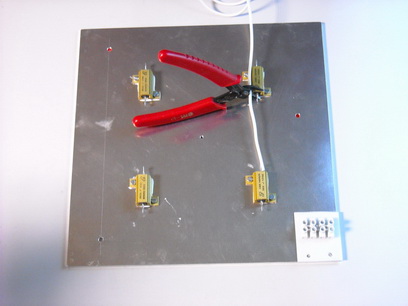
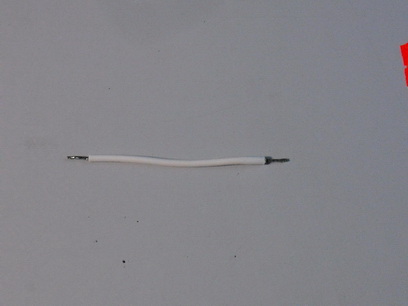
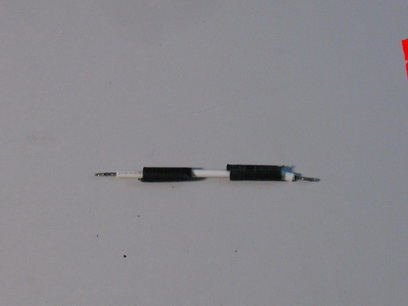
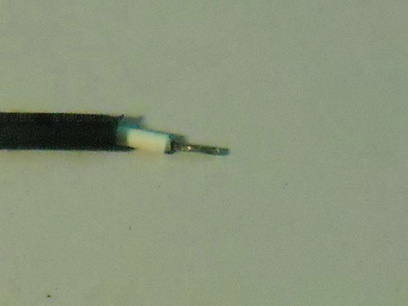
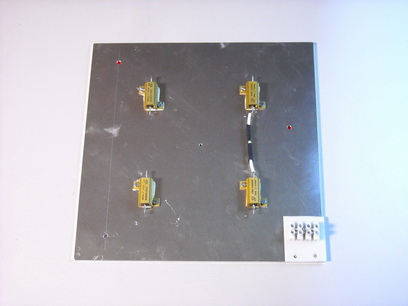
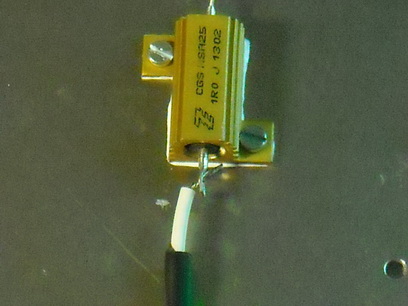
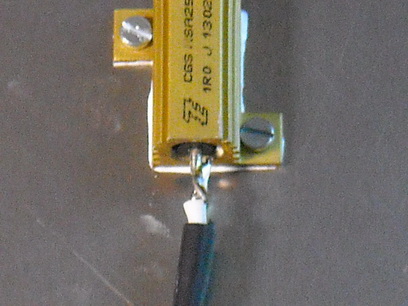
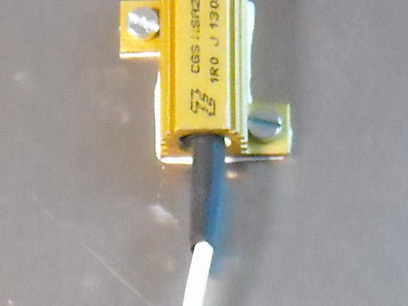
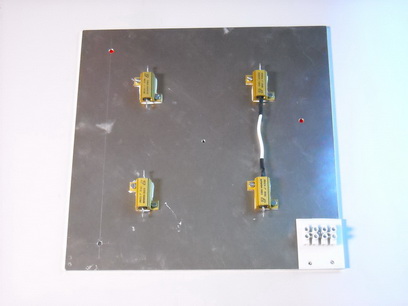
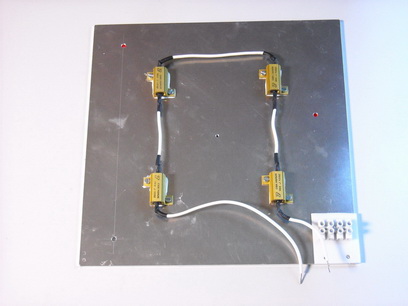
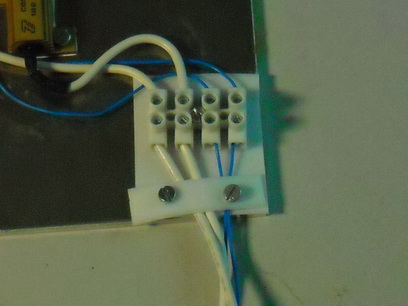
3. Place the thermo resistive plate where the wires will exit, on top of this one the connector block will be placed and it will be holded by a M3x10 screw.
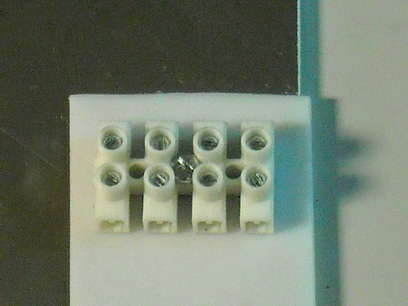
4. Connect the two wires of the heating circuit terminal block connectors.
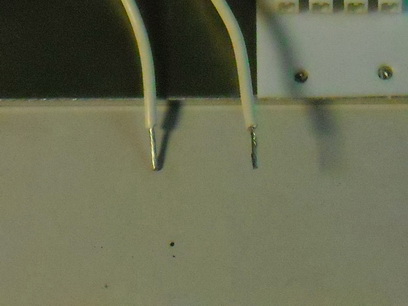
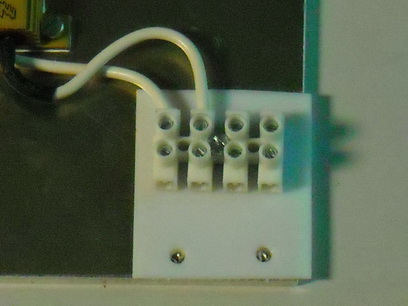
5. Glue temperature transducer wire terminals; heat shrink splices are drawn over and heated.
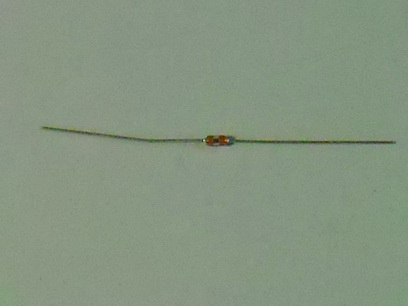
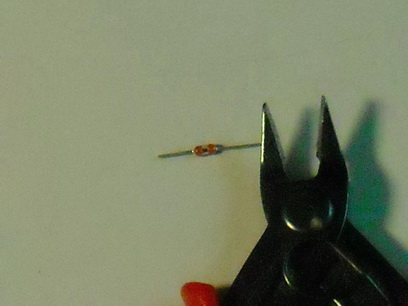
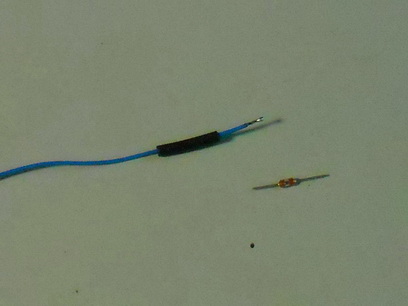
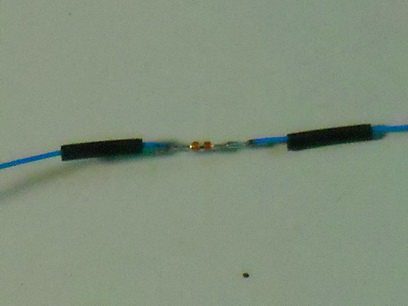
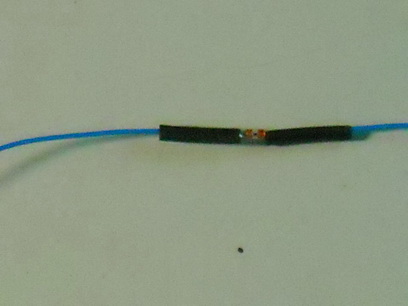
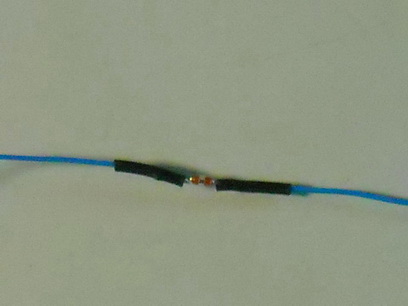
6. Fasten the temperature transducer, previously anointed with thermally conductive paste with a screw and a washer M3x6.
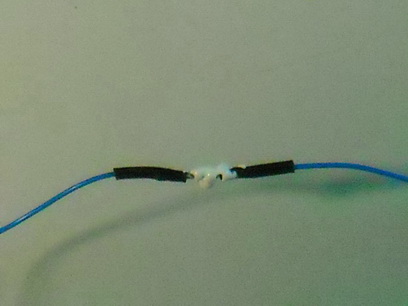
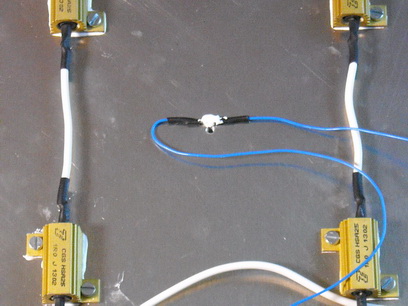
Please note! Do not tighten the screw excessively; transducer is made of glass and may crack.
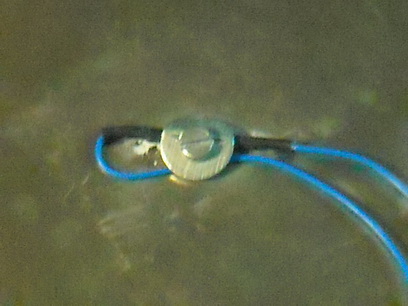
7. Connect the wires and temperature sensor in the connector.
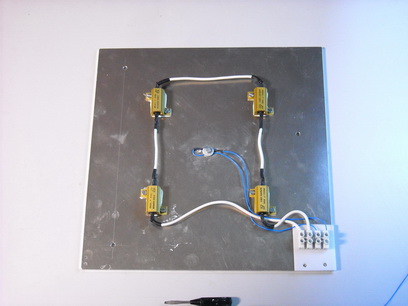
We`ll work on the other side now.
8. Mounted 3 sunk screws into the holes and tight strong with three nuts
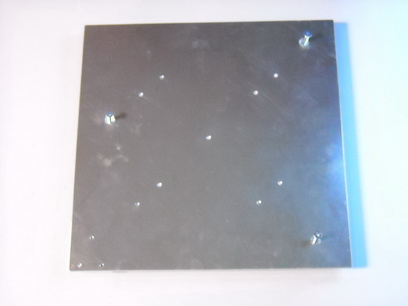
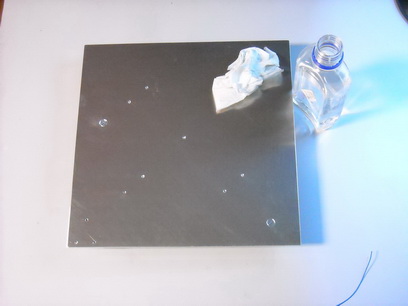
9. Clean the front of the table well with alcohol.
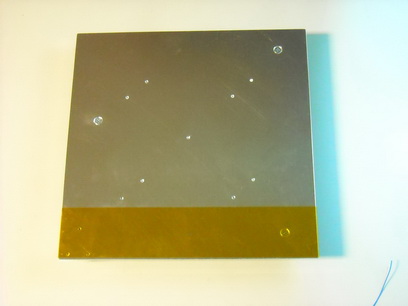
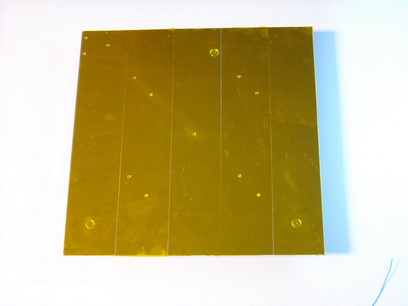
10. Spread a layer of tape (Kepton) starting with one side. Please note! Apply tape from one end to the other and try to squeez out the bubbles from beneath . Continue with the second layer. If you can spread the second layer near close to the first it would be great, if less overlap there is no problem. From 5 layers must be covered table.
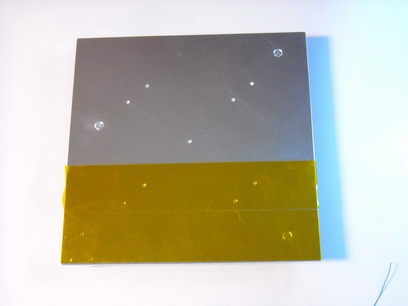
11. Connect the wires that will binded to the electronics . Please note! thick wires connect to thick wires, the thin to the thin. Stiffene the wires on the table with an isolator and 2x M3x6 screws.
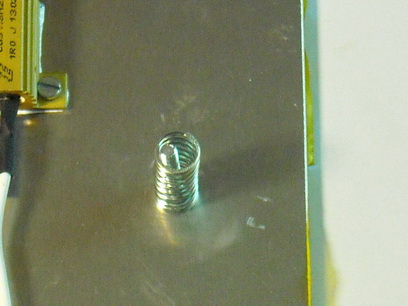
12. The bed can be mounted on the support. Do not forget to enter springs in the three screws.
 Back to index